Menu

Teravista Logo
SCHEDULE YOUR APPOINTMENT 512-843-2441

Your smile is in expert hands

Why It’s Important to Brush Your Teeth Before Bed

SCHEDULE YOUR APPOINTMENT 512-843-2441

Why It’s Important to Brush Your Teeth Before Bed

We all know we’re supposed to brush, floss, and rinse at least twice a day, and ideally after every meal, in order to clear away stuck-on food and bacteria that can lead to plaque and tartar buildup, and eventually more serious concerns like gum disease, tooth decay, and even tooth loss. So long as you brush a certain number of times daily, however, you might wonder how important it really is to brush at specific times.

Does it really matter if you brush your teeth before you go to bed? What’s the harm if you just forego brushing and hit the hay when you’re extra tired? Can’t you just make it up by brushing in the morning when you’re alert and energized? Is it really so important to attend to your teeth before you get your zees? Here’s what you need to know.

Bacteria Byproducts

Do you know how tartar and plaque are made? It’s probably going to gross you out. When you eat food, the bacteria that live in your mouth get to eat, as well, from the leftover particles stuck on teeth and soft tissue. These bacteria then produce waste products that form a sticky film on your teeth (plaque) that can harden and become tartar.

Plaque and tartar attack tooth enamel and can lead to infections that further compromise oral health. Plus, once tartar forms, your dentist has to work extra hard to scrape it away – you can’t do it on your own. An ounce of prevention is worth a pound of cure, and brushing before you go to bed clears away plaque and helps to prevent the buildup of tartar.

Slowed Saliva

Saliva is designed to flush away food and bacteria, but when you sleep, saliva production slows. If your teeth, tongue, and other mouth surfaces are clean, this is no big deal, but if food and bacteria remain, they can do some real damage while you sleep.

Easy Remedies

Whether your disinclination to brush before bed has to do with the long hours you work or simple laziness, there are ways to make this task quick, easy, and convenient. If standing in front of the mirror to brush, floss, and rinse takes too long when you’re ready to Rip Van Winkle it at night, keep a toothbrush and/or flossing stick on the nightstand for a quick once-over. Hey, it’s better than nothing. Just don’t make a habit of it, and make sure to rinse your tools in the morning.

Why You Should Be Brushing Your Tongue

While many people take care to brush their teeth, floss, and rinse with mouthwash, the tongue is neglected all too often. This is a shame because the tongue is the source of most bad breath, especially in tandem with many of our favorite foods and beverages such as wine and coffee. While the tongue cannot develop cavities, it is certainly a place where bacteria love to fester. In fact, most bacteria live in crevices of the tongue and spread to other areas of the mouth from there.

Rinsing

Most of tongue-related bacteria buildup consists of microorganisms that agglomerate on the surface. Because of the nature of these organisms, simple rinsing is not enough to combat them, even with the most efficient mouthwash. The reason for this is that most mouthwashes only destroy the outer layers of these organisms, leaving everything beneath completely in tact. The surviving bacteria cause bad breath, tooth decay, and a variety of other problems. Consequently, adequately brushing one’s tongue is essential.

Techniques

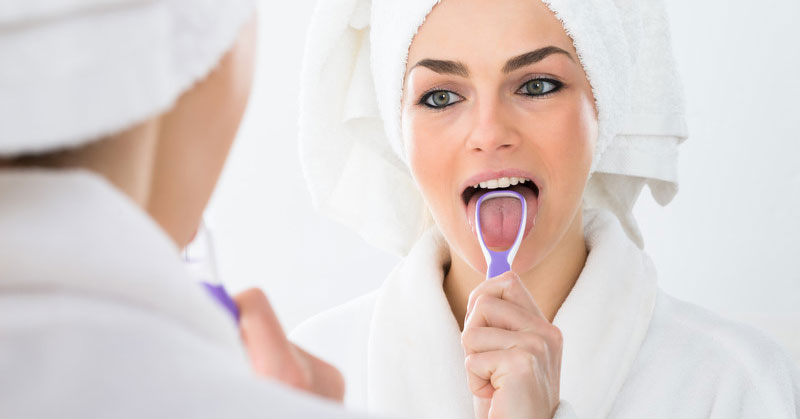
After brushing your teeth, turn your attention to your tongue. Cleaning the tongue can be accomplished in a variety of ways, including using a toothbrush or a tongue scraper. Apply a small amount of toothpaste to either and gently rub the device back and forth across the surface of the tongue, taking care not to irritate the taste buds or other structures. Brush the back of the tongue first, then make your way to the front, taking care to cover the entire surface. When finished, rinse with water and spit into the sink.

On Tongue Scrapers

Tongue scrapers are the most effect means of cleaning one’s tongue. They are typically constructed from fine, malleable plastic that adeptly removes microorganisms from the surface of the tongue. After following the procedure outlined above, rinse the tongue scraper under warm water to ensure that it is properly cleaned. Should your tongue become irritated or bleed, you are likely scraping too hard. The ideal method is to scrape slowly without applying a lot of pressure. Additionally, remember that the most concentrated amount of bacteria resides at the center of the tongue.

Frequency

Cleaning one’s tongue should be implemented into one’s daily oral hygiene routine. Consequently, it should be accomplished at least twice per day. Additionally, if you have a funky taste in your mouth or notice that your mouth is particularly dry, try brushing your tongue.

If you have any questions pertaining to brushing your tongue, consult your dentist or oral hygiene professional.

How Dental Implants Stop Gradual Bone Loss

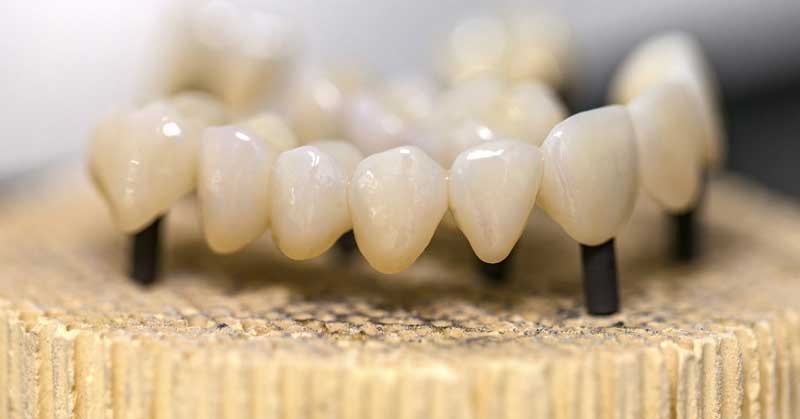
Dental implants mimic natural tooth roots and are installed in the jaw in the place of lost teeth. From this point, a crown is installed on top of the implant to give a more natural appearance and prevent further issues. Implants maintain one’s jaw structure and guard against problems typically associated with bone loss. While bridges and dentures are also used to combat problems associated with missing teeth, they do not address problems associated with bone loss. This is because implants simultaneously promote proper biting and chewing and provide the necessary stimulation required to preserve the functionality of one’s teeth.

The Basics of Dental Implants

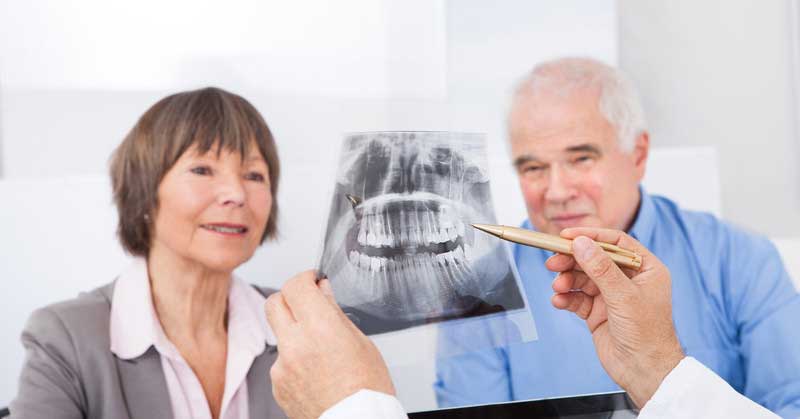
Dental implants are titanium screws inserted into the jawbone that mimic the functionality of natural tooth roots. After a crown is attached, the implant will function just as a normal tooth does by preserving the integrity of the jaw and preventing further problems resulting from bone loss. Over time, the implant fuses with the bone, which is known as osseointegration. This process is usually successful as long as there is enough bone. If one has recently experienced tooth loss, they should have the procedure performed as soon as possible to prevent further bone loss.

3D Imaging

Today, most dentists use 3D imaging in tandem with surgical preparation software in order to build a map of the patient’s mouth, identify potential problems, and ascertain the overall length of the procedure. This process is initialized after the dentist takes a 3D image that enables them to assess nerve locations and bone composition. After that, they will mold replacement teeth and plan the surgery. Without 3D imaging, this process can take anywhere form three to nine months to complete. However, thanks to modern technology, implants can be installed across an entire mouth in a much more compact amount of time.

Problems

Bone loss occurs as patients get older and develop periodontal disease. This is especially prevalent in those already missing teeth. Consequently, bacteria can easily find its way into the bloodstream and organs, causing a wide range of problems that can affect one’s ability to eat and result in nutritional defects.

Augmentation

Unlike dentures or bridgework, implants can adequately restore bone present in tooth sockets. Plentiful amounts of bone mass are imperative for successful implant surgery. With proper digital imaging, dentists can determine the precise amount of bone deficiency, giving them an idea of the total amount of material needed for an implant. Fortunately, many modern augmentation studies have resulted in much greater success.

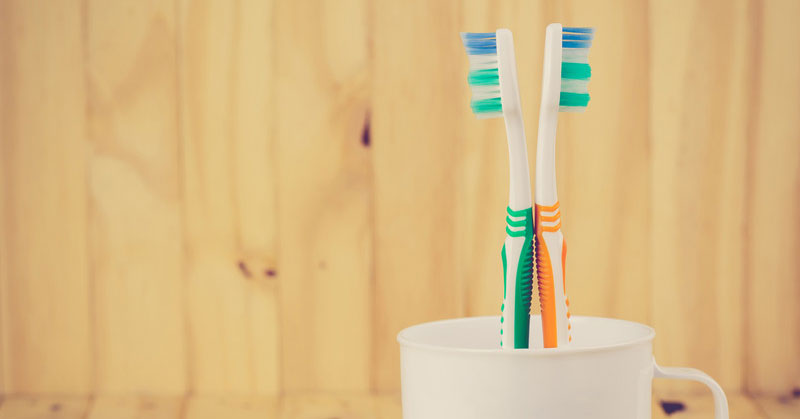
4 Great Uses for Your Old Toothbrush

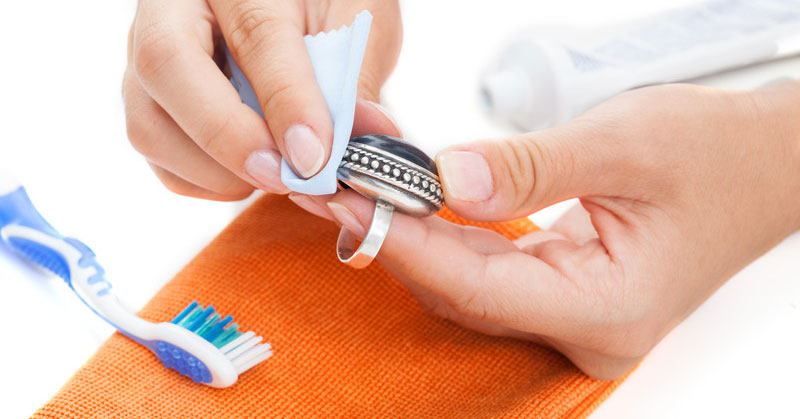
Everyone should use their toothbrush at least twice per day. Consequently, we are also replacing them when they wear out. Fortunately, old toothbrushes have a variety of uses in and outside the bathroom. Some of these uses are practical, while others aid in athletic endeavors. Here to lend some ideas is a list of four great uses for your old toothbrush.

1. Scrubbing Tile and Cleaning Drains and Faucets

As anyone who has looked at a toothbrush should know, they contain tiny bristles. These are perfect for scrubbing pretty much anywhere in a bathroom or kitchen where dirt and grime tend to accumulate. Combine brush strokes with your favorite all-purpose cleaner or a combination of soap and water and be amazed at the results.

2. Cleaning Beneath Fingernails

Before your next manicure, make some time to remove any dirt and other things that have accumulated under your fingernails. A toothbrush combined with some soap and water should get the job done handily and is great for those with particularly sensitive fingernails or those who garden with their bare hands. This technique also works really well on toenails and will be a blessing to whoever performs your next pedicure.

3. Removing Mud and Debris From Shoes

With a toothbrush, there’s no need to be meticulous about removing your shoes when walking through dirt. This method is ideal for children, too. So you don’t need to worry when your kids get their shoes dirty after a rowdy day outside. It’s also great for those who play sports, particularly soccer, baseball, or football, as it offers a quick and effective means of scraping excess dirt and grass off of cleats. Just turn them over and use the bristles to scrape between those hard to reach areas.

4. Computer Keyboard Maintenance

We can all relate to this one. Even the most well maintained computer keyboards tend to accumulate dust and food between keys. This is because dust naturally settles, our fingers contain microscopic bits of dirt, and sometimes we eat around our computers. Fortunately, a toothbrush is ideal for cleaning these hard to reach areas. Prior to cleaning, make sure that you unplug your keyboard or laptop, flip the keyboard so it is facing sideways, and gently brush the debris into a garbage can. Take care not to apply any water, liquid, or cleaning materials to the keyboard, as any of these could damage it beyond repair.

Is It OK to Share Your Toothbrush?

Most of us are inherently averse to sharing our toothbrushes, and for good reason. The mouth is home to over 700 different types of bacteria. While most of them are essentially harmless, others can result in a plethora of health risks that could otherwise be negated. While using one’s own toothbrush is certainly ideal, sometimes we can’t really avoid the situation and wind up sharing our toothbrushes with our spouses, children, or friends. Before you do this again you may want to read the following list, which outlines whether or not it is alright to share your toothbrush.

The Extremes

Remember, sharing a toothbrush immediately transfers whatever bacteria is present in one mouth to another. Many studies show that toothbrushes contain a significant amount of bacteria and viruses, including E. Coli, staph, and pseudomonas. Additionally, sharing your toothbrush results in greater risk of contracting oral herpes or periodontal disease. For those whose gums are prone to bleeding, sharing a toothbrush provides ample opportunity for bacteria to enter the bloodstream, increasing the risk of HIV, hepatitis, and a variety of other diseases. One could also transmit the flu, a cold, or sore throat as well. Basically, whatever bacteria is present in the user’s mouth will transfer to another person’s mouth when they use the toothbrush.

Typical Results

Most people who share their toothbrushes won’t catch more than a cold, as long as the person with whom they are sharing it with does not have a cold or the flu. While this seems somewhat disgusting, it really isn’t different than transferring bacteria through kissing, holding hands, or sharing food and drinks. Additionally, rinsing after brushing with a foreign toothbrush can minimize the risk of contracting an illness. However, as mentioned, if the person with whom you are sharing a toothbrush is sick, do not share it.

Proper Cleaning

In addition to ensuring that you are the only one using your toothbrush, it is important to make sure that you are cleaning the toothbrush properly. Most professionals recommend rinsing a toothbrush with water after usage and storing it upright, away from other toothbrushes or surfaces, which could transmit viruses or bacteria. Another means of ensuring cleanliness is to rise the toothbrush with Listerine, alcohol, or baking soda every few days. Additionally, replacing a toothbrush every three months, or immediately after you get over the flu or another illness, is crucial to maintaining optimal health.

How Are Dental Veneers Applied to Teeth?

Over time, our teeth can start to show our age. Yellowing is a common complaint, but you might also suffer from staining or other discoloration, as well as cracks, chips, wear and tear, and even broken teeth. Or perhaps you have unsightly gaps or overlaps where your front teeth are concerned.

There are many options to address cosmetic issues with your smile, but dental veneers made of porcelain or resin can provide an immediate and lasting solution that gives you the beautiful, perfect smile you crave. How are dental veneers applied to teeth? Here’s what you need to know.

Prep

Once you and your dentist have determined that dental veneers are the best solution to address your dental concerns, you’ll have to prepare for the procedure. In order to secure the thin shell of veneer material to your teeth without adding undue bulk, a small amount of enamel will have to be removed from the surface of the teeth to be covered.
Generally, the dentist will remove about 0.5 mm of tooth, which accounts for the thickness of the veneers to be affixed to your teeth. Local anesthesia ensures that you feel no discomfort during this procedure.

From there an impression will be taken and used to craft custom veneers. Fabrication could take a couple of weeks, but your dentist can provide you with a temporary veneer in the meantime.

Bonding

When your custom veneers are finished, you’ll visit your dentist for a second appointment to undergo the bonding process. First, your dentist will make sure the veneers are perfect by testing them in your mouth, trimming and shaping them, and determining which cement will be used to achieve the final color you prefer.

If you and your dentist are both satisfied that the veneers are perfect, the placement and bonding process will begin. First, your teeth will be polished and then etched to create a rough surface for more effective bonding. Then cement will be applied to the surface of your teeth and the veneers will be positioned.

When placement is just right, your dentist will use a light to cure the cement and complete bonding, after which any excess cement will be removed to complete your perfect, new smile.

Care

With proper care, including brushing, flossing, rinsing, and regular dental visits, your veneers can remain bright, beautiful, and functional for up to 10-15 years. Dental veneers are durable and resilient, making them a great option to consider for anyone unhappy with their current smile.

Cold Sores Vs. Canker Sores: What’s the Difference?

When painful sores develop in or around the mouth and lips, you probably don’t care what they are – you just want them to go away. However, the type of sore you have is important, and proper diagnosis is necessary to ensure you understand symptoms and you can undergo proper treatment.

Although cold sores and canker sores are easy to confuse, there are several differences that will help you to determine which type of sore you’re dealing with. In order to treat sores effectively, you need to know which is which. Here are a few differences you should be aware of.

Canker Sores

Canker sores, while annoying and sometimes painful, are relatively harmless. They present as round, white sores inside the mouth, often surrounded by a red halo. Canker sores could result from accidentally biting yourself, poking the soft tissue of your mouth with a retainer or sharp food (like chips or pretzels), food allergies, or even stress or hormonal changes.

Generally, canker sores will go away on their own within a few days, or you can use a salt rinse to speed healing time. You can also use over-the-counter painkillers like Orajel or Kanka to reduce pain while canker sores are healing. The important thing to remember is that canker sores are not dangerous, nor are they contagious.

Cold Sores

Cold sores are much more serious than canker sores, and they may require professional diagnosis and treatment. They are characterized by fluid-filled blisters and unlike canker sores, they are generally outside the mouth.

The biggest difference is that cold sores are a symptom of the HSV-1 virus (which is similar to, but not the same as, the HSV-2, or genital herpes virus). Because of this, cold sores can be contagious, especially when they are cracked and oozing, which means you want to be especially careful about contact with others. It’s best to avoid sharing utensils and drinking glasses with others any time you have a sore.

If you think you have a canker sore, it’s a good idea to seek professional diagnosis from your dentist or doctor so that you can get appropriate treatment. At the very least, you’ll want prescription medication, like topical creams, to treat visible cold sores and help them to heal as quickly as possible.
Your dentist may also recommend treatment with a low-level laser or other medications, depending on your symptoms. Cold sores and canker sores are commonly confused, but when you know the symptoms, you can tell the difference, and from there you can seek appropriate treatment.

4 Helpful Tips to Keep Teeth Clean in between Meals

Most of us thoroughly enjoy the act of eating, especially with the wide variety of food and beverage choices available to modern man. Unfortunately, our favorite comestibles can feed bacteria in the mouth, leave film and food particulates on teeth and under the gum line, and result in unsightly and harmful tartar and plaque buildup over time.

Naturally, you can combat this with a proper oral health routine that includes regular brushing, flossing, and rinsing with mouthwash, as well as frequent dental visits for professional cleaning and care. What if you can’t brush after every meal? What can you do to keep your mouth clean in between meals? Here are a few strategies to try.

1. Drink water

If you find that there are points during the day when you’re unable to brush, floss, and rinse after eating, a good rule of thumb is to sip some water. Your saliva does a lot to flush away leftover food particles, but you can supplement with water to swish and rinse away bacteria and remaining food particles.

2. Avoid sugary snacks

When the mid-afternoon doldrums hit, it’s tempting to reach for a soda, cookies, or candy to give you a boost. This can be bad for your body and your teeth. Not only will sugar cause you to crash after the initial energy boost, but letting sugar sit on your teeth can weaken enamel and feed bacteria, leading to tooth decay over time.

Instead, chew on some crunchy vegetables like carrots, celery, or broccoli, for example, or even an apple. These snacks are not only great for your overall health, but they can also help to scrape away any film on your teeth left over from lunch.

3. Chew sugar-free gum

If you want to get your saliva flowing as a way to flush away leftover food, chewing gum is one way to stimulate saliva, as well as grab food particles stuck in the grooves of your molars. Just make sure to choose a sugar-free option to avoid doing more harm than good.

4. Carry floss picks

You may not have room in your pockets or purse for all of your oral hygiene gear (toothbrush, toothpaste, floss, and mouthwash), but you can fit in a few tiny floss picks anywhere. All you have to do is pop in a restroom to floss and pick between teeth and around the gum line, ensuring your teeth remain clean and healthy between meals and regular dental care.

How to Maximize the Value of Your Dental Insurance Plan

Insurance is something of a balancing act. Consumers don’t want to spend any more than they have to on premiums, but they want to get adequate coverage to ensure that they’re cared for in the event of medical mishap, as well as avoid substantial out-of-pocket expenses when medical needs arise.

When it comes to dental insurance, you might not think it’s necessary to spend as much time poring over the finer points of a policy as you would with general health insurance. However, if you end up needing extensive dental treatment, you’ll be glad you took the time to select an appropriate policy.

Of course, you also have to make sure you understand the benefits of the plan you pick so that you can take full advantage of coverage and maximize your value. Here are a few tips to get the most from your dental insurance plan.

Consider Your Needs

It’s impossible to know for sure what’s coming where your health is concerned, but you probably have a pretty good handle on your own oral health. If you follow a strong oral hygiene regimen at home, visit your dentist regularly for cleaning and care, and you’ve have very few issues in the past, you might want to choose a plan that focuses on preventive care.
If, on the other hand, you’ve had serious oral health issues in the past and you anticipate further procedures, you’ll want to select a plan that provides more coverage for additional care like fillings, crowns, dental implants, and more so that you can avoid major out-of-pocket expense. Having a good grasp of your own dental health needs can help you to choose the best insurance plan and get the most out of your coverage.

Schedule Regular Preventive Care

Most plans now cover preventive care like biannual checkups and cleaning, and it’s in your best interest to take advantage of this coverage. When you see your dentist frequently, you have the best chance to avoid issues like tooth decay and gum disease that could quickly spiral out of control and cost you a ton of money. Even if procedures are covered, you may be on the hook for co-pays or a percentage of costs, so avoiding serious issues is a must.

Know Your Network

Whether you have a PPO or HMO dental insurance plan, you have to work within your network in order to receive maximum coverage. Make sure you know which professionals are in your network so you always get the best possible coverage for care.

4 Helpful Eating Tips for New Denture Wearers

New denture wearers are going to need to take things slow at first. Many of your routine behaviors will need to be readjusted as you get used to wearing dentures. Chief among those is the way you eat. You might not be able to eat some of the foods you normally enjoy until you get more comfortable with the denture appliances in your mouth. But over time you will begin to adapt to your new replacement teeth and you should be able to eat everything you enjoy once more.

1. Go Slow

When you are wearing your new dentures your mouth is going to need some time to grow accustomed to your new teeth. Your first instinct might be to chew as if you still had your natural teeth, but you must remain cognizant of the fact that they are not your actual teeth and chewing too hard or vigorously could result in cracking the dentures. So start out by eating softer foods and work your way up to the harder items later on.

2. Bite Cautiously

As you use your dentures be careful about biting down on your food. Start training yourself to bite with your canine or back teeth instead of at the front. This can help you avoid the irritation that can come from your dentures being displaced or coming loose from your gums. Biting carefully will also prevent you from nipping the interior of your cheek by mistake, which can be very painful.

3. Foods to Avoid

Once you get fully accustomed to your new dentures, you will find eating to be much easier. But that doesn’t mean you should no longer be cautious about your eating habits. There are some foods you may want to avoid altogether, such as any foods that have shells or bones as these could break the denture. Sticky foods like caramel or toffee are also dangerous for the dentures. Nuts and seeds can get wedged underneath the appliance, causing soreness to the mouth. Hot and cold temperatures are also not recommended and that includes coffee, which can stain your dentures over time anyway.

4. Cleaning Dentures

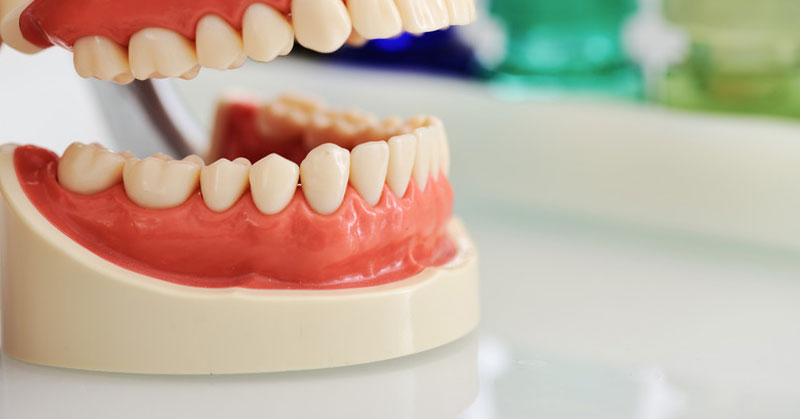
When it comes to cleaning, treat your dentures as if they were your real teeth. So brush them daily and thoroughly, take them out each night and place them in a cleaning solution so they don’t dry out. The important thing is to keep harmful bacteria away so that your mouth does not get infected from wearing your dentures.

Zip Codes We Serve:
78756, 78751, 78705, 78757, 78722,
78752, 78712, 78731, 78703

Connect With Us: Teravista Facebook Teravista Youtube Teravista Google Plus Teravista Yelp

Family Dental of Teravista

1821 Westinghouse Rd. Suite 1130 Georgetown, TX 78626